GeekPi RackMate T1 Build
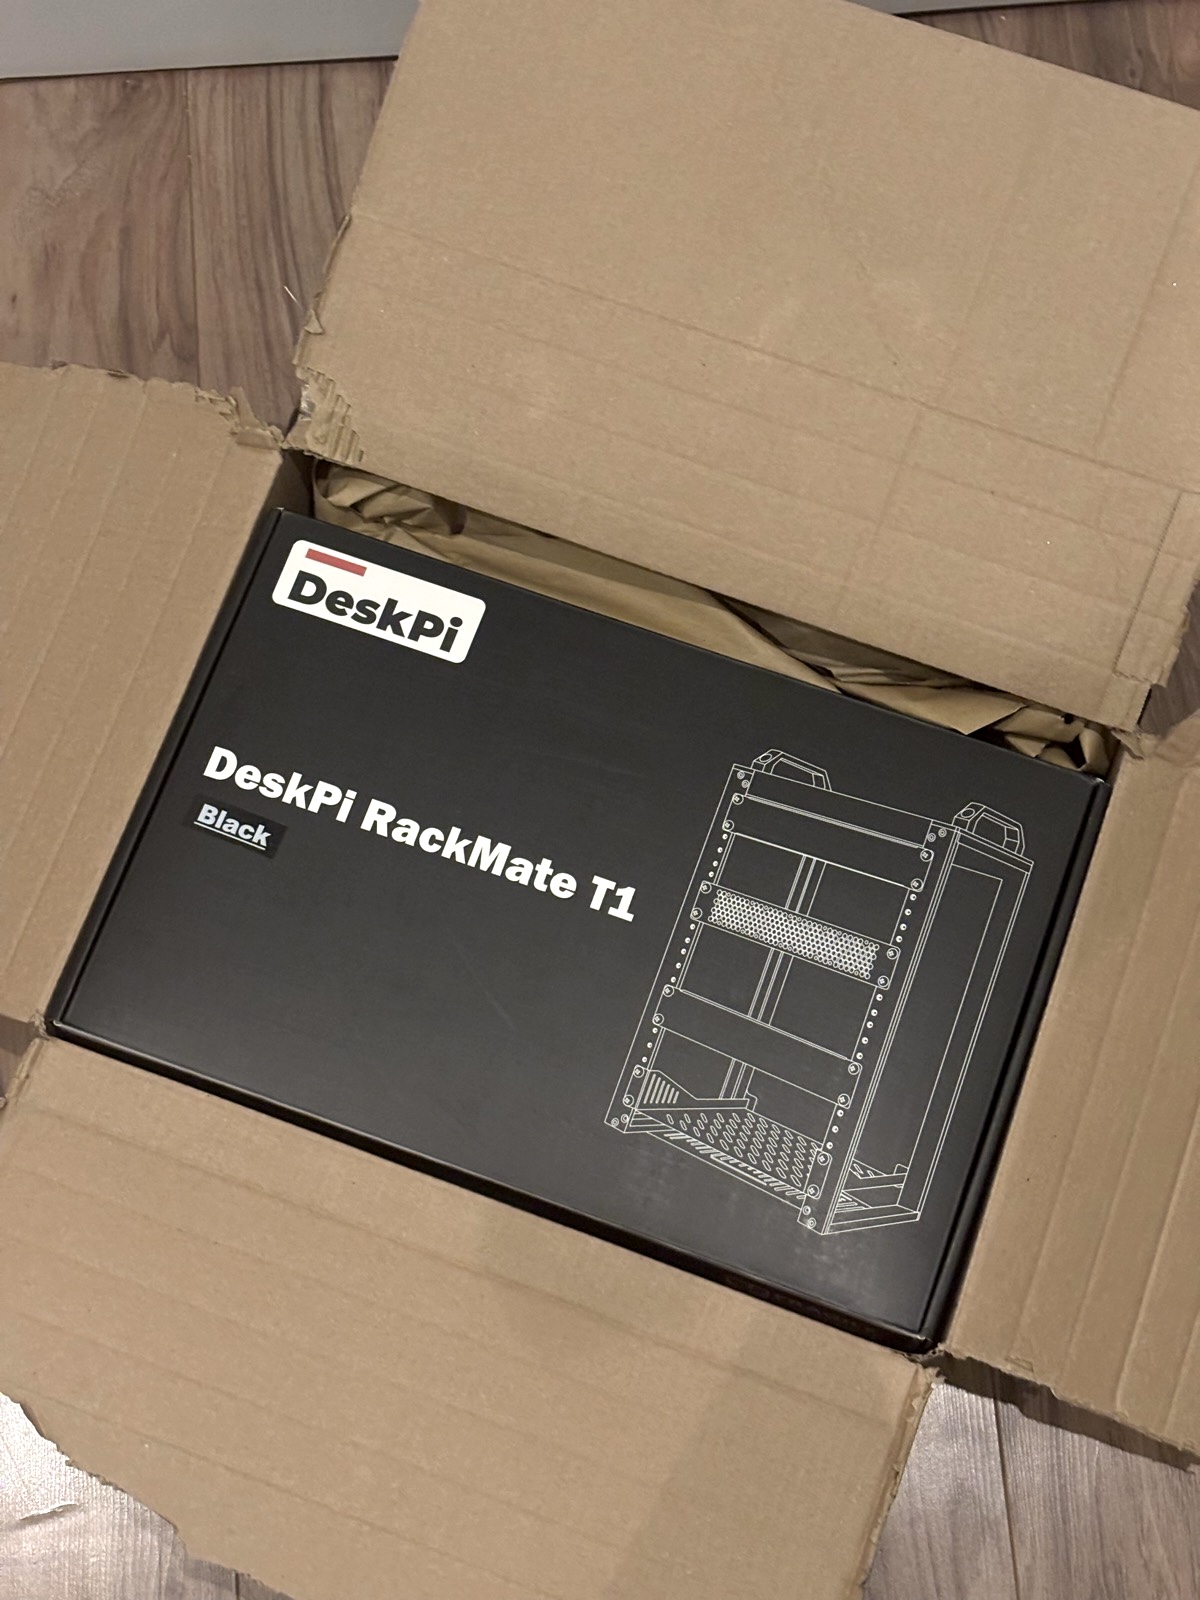
Well this is something I’ve been excited to do for a while. As a big advocate for privacy and self-control, and a bit of a tech buff, building out my own HomeLab seems to be a natural step to take. After doing a bit of a research and having a shop around, I settled on the GeekPi RackMate T1 as a 10 inch server rack. I ordered it from Amazon, as it was about 30% off, it took a day to arrive, and I was ready to start building.
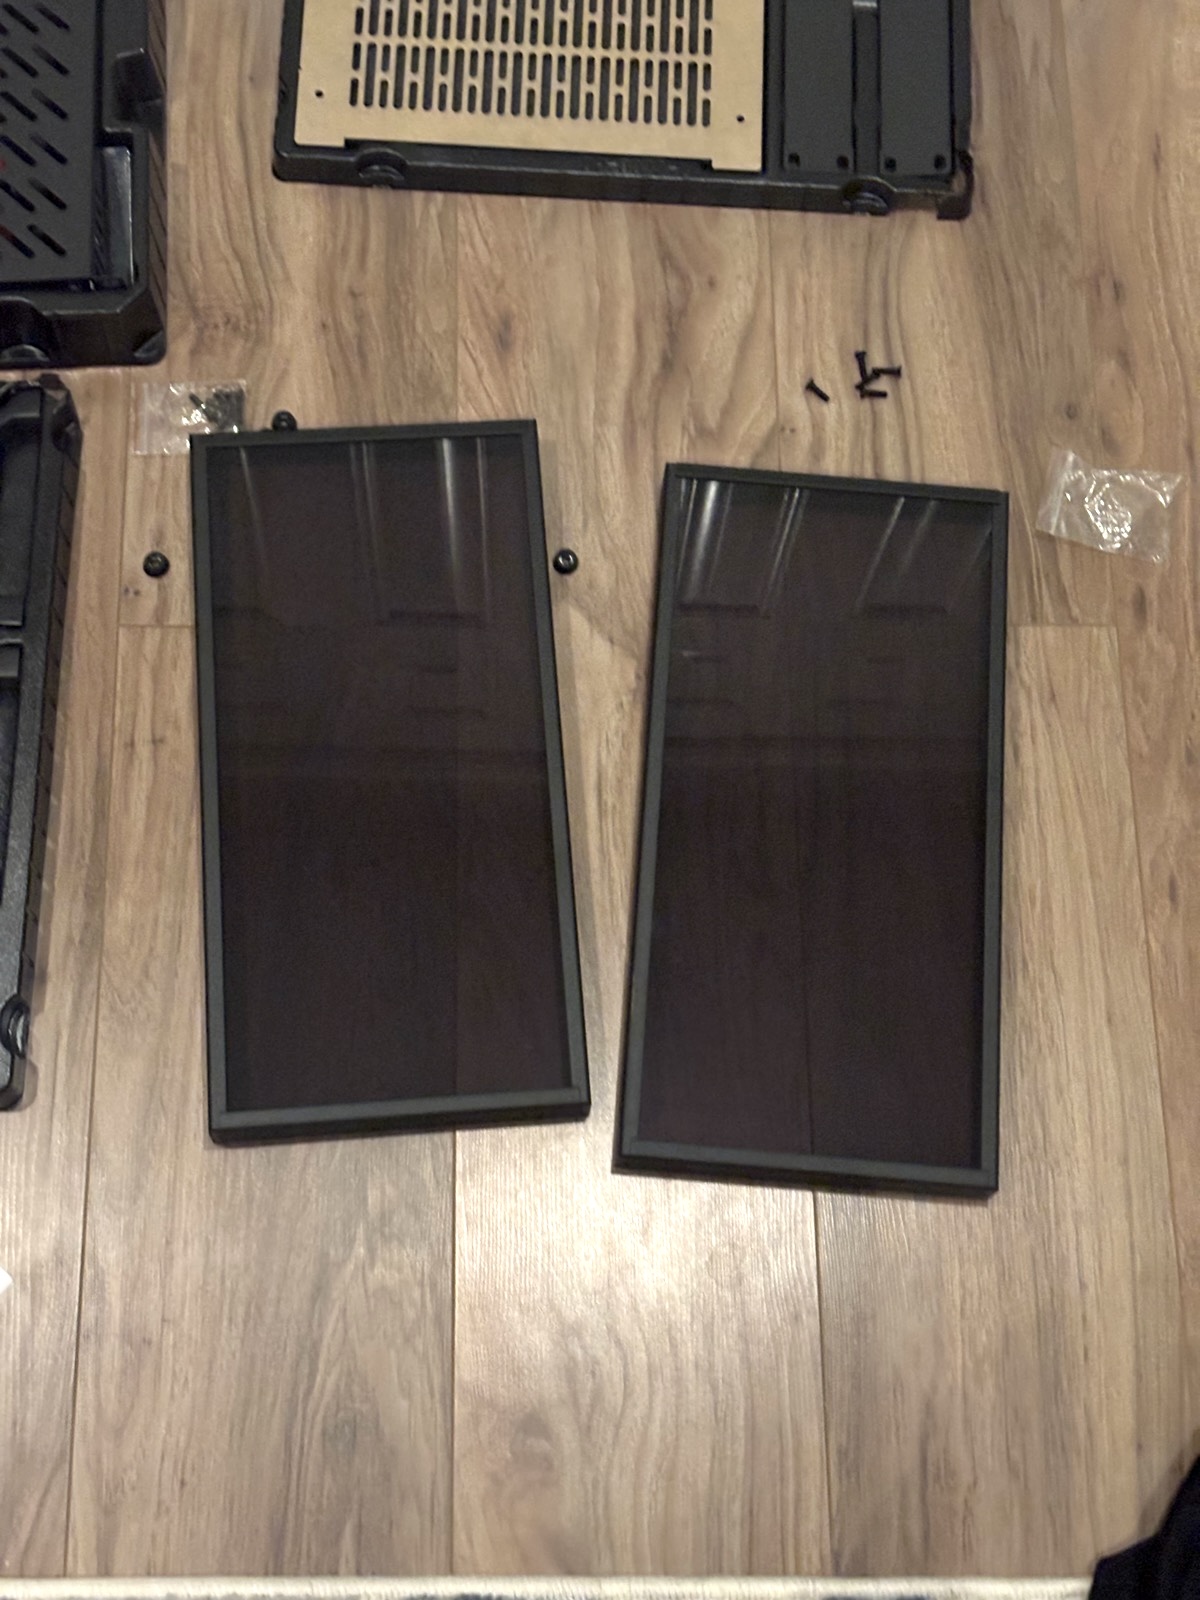
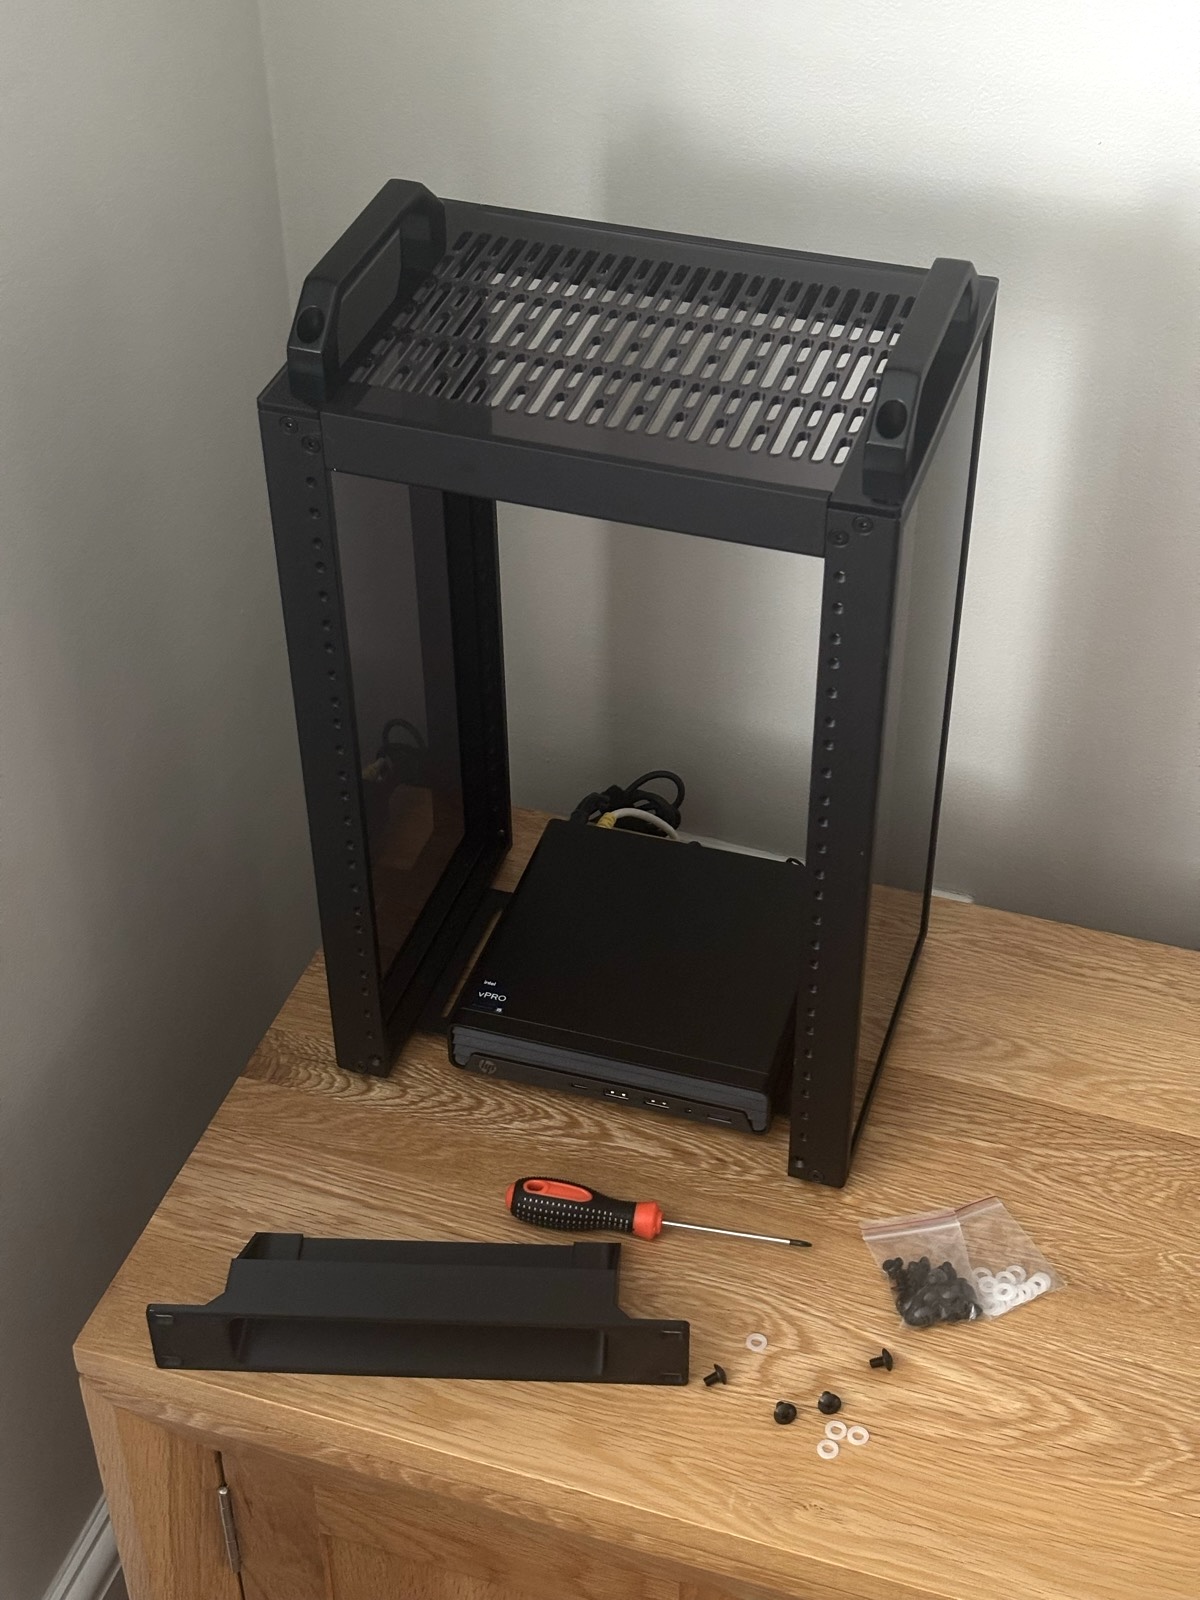
The build was relatively easy, I’m by no means an expert so I’m glad it went smoothly. The majority of it felt like a large jigsaw puzzle that I just had to screw down, starting off with building one of the two transparent side panes. The first took a bit longer than I care to admit, but after I’d done it I was on a roll… It was then I realised that I had mixed up a couple of the screws that I was meant to use in other parts of the build with the ones used in the first side panel. So after building a two side panels three times, I had done over half of the work needed for this server rack.
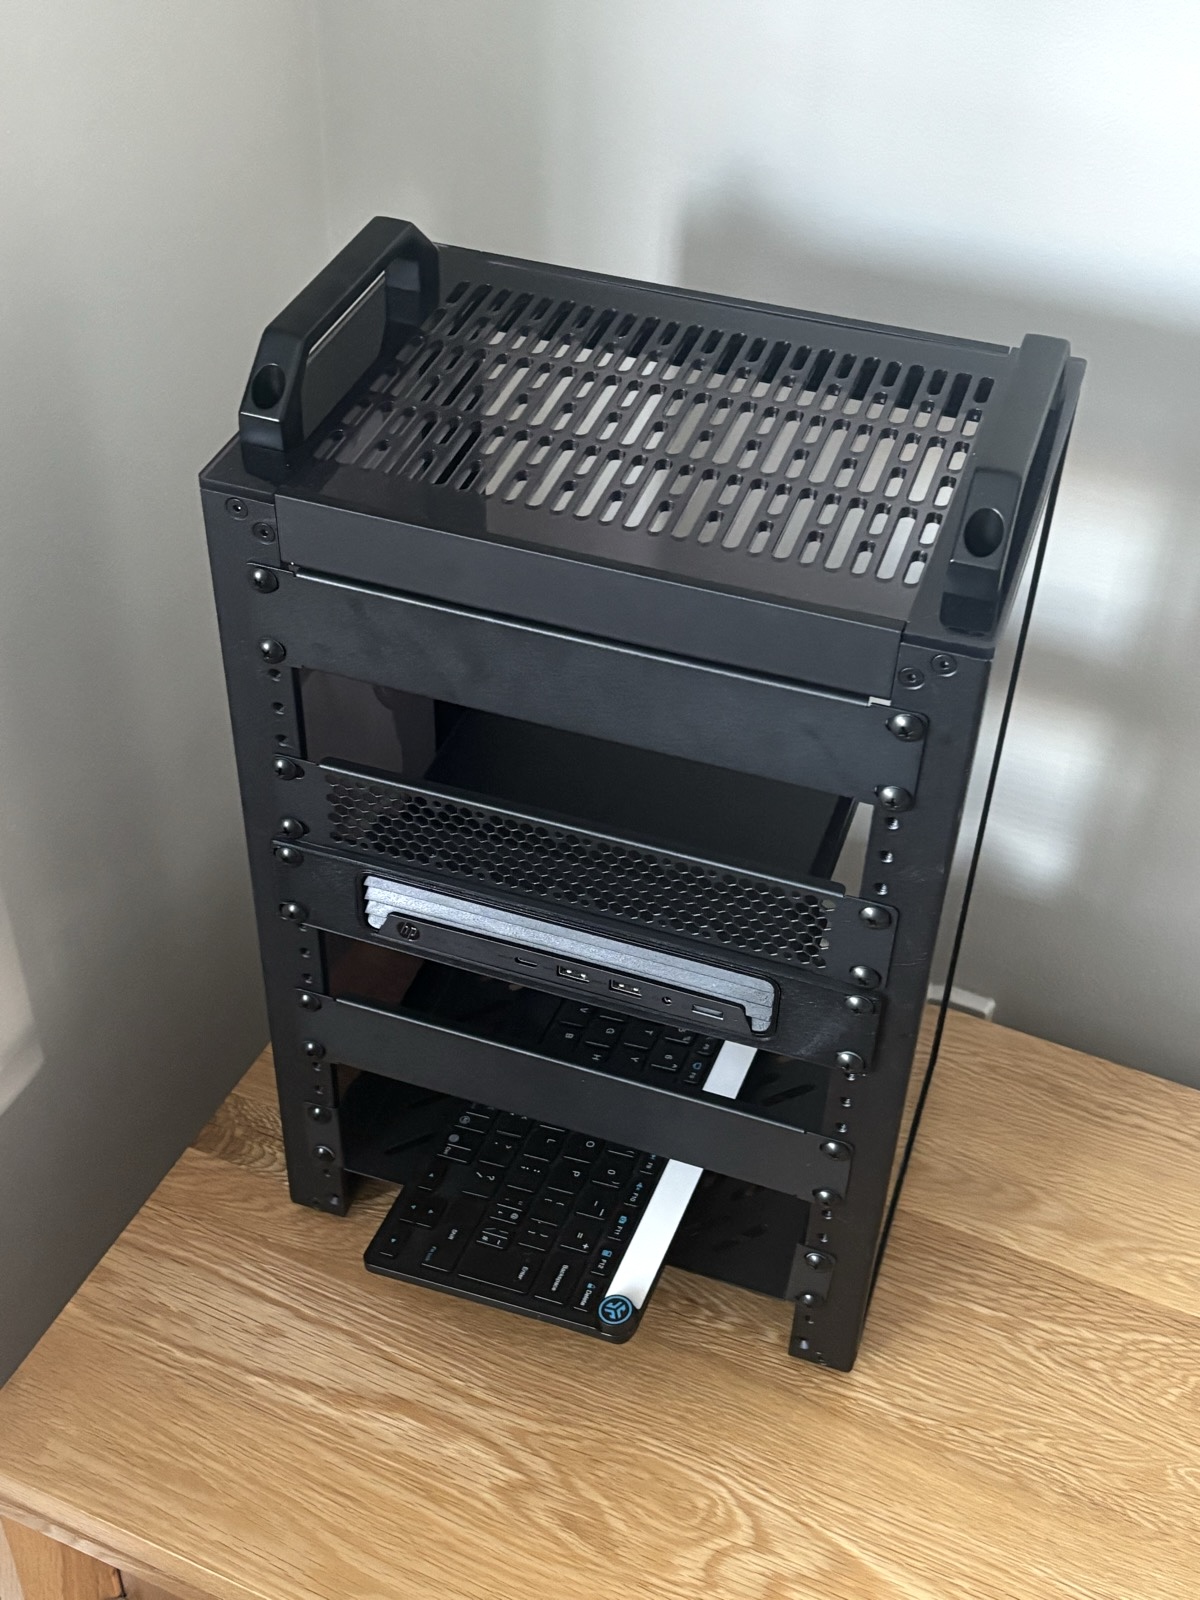
After that, I only had the really easy jobs of screwing in the top and bottom parts of the frame. These included some vents for air flow, handles actually for picking the thing up, and rubber feet so they won’t scratch whatever surface its on. The whole thing took me less than an hour, it was easy as GeekPi (sorry).

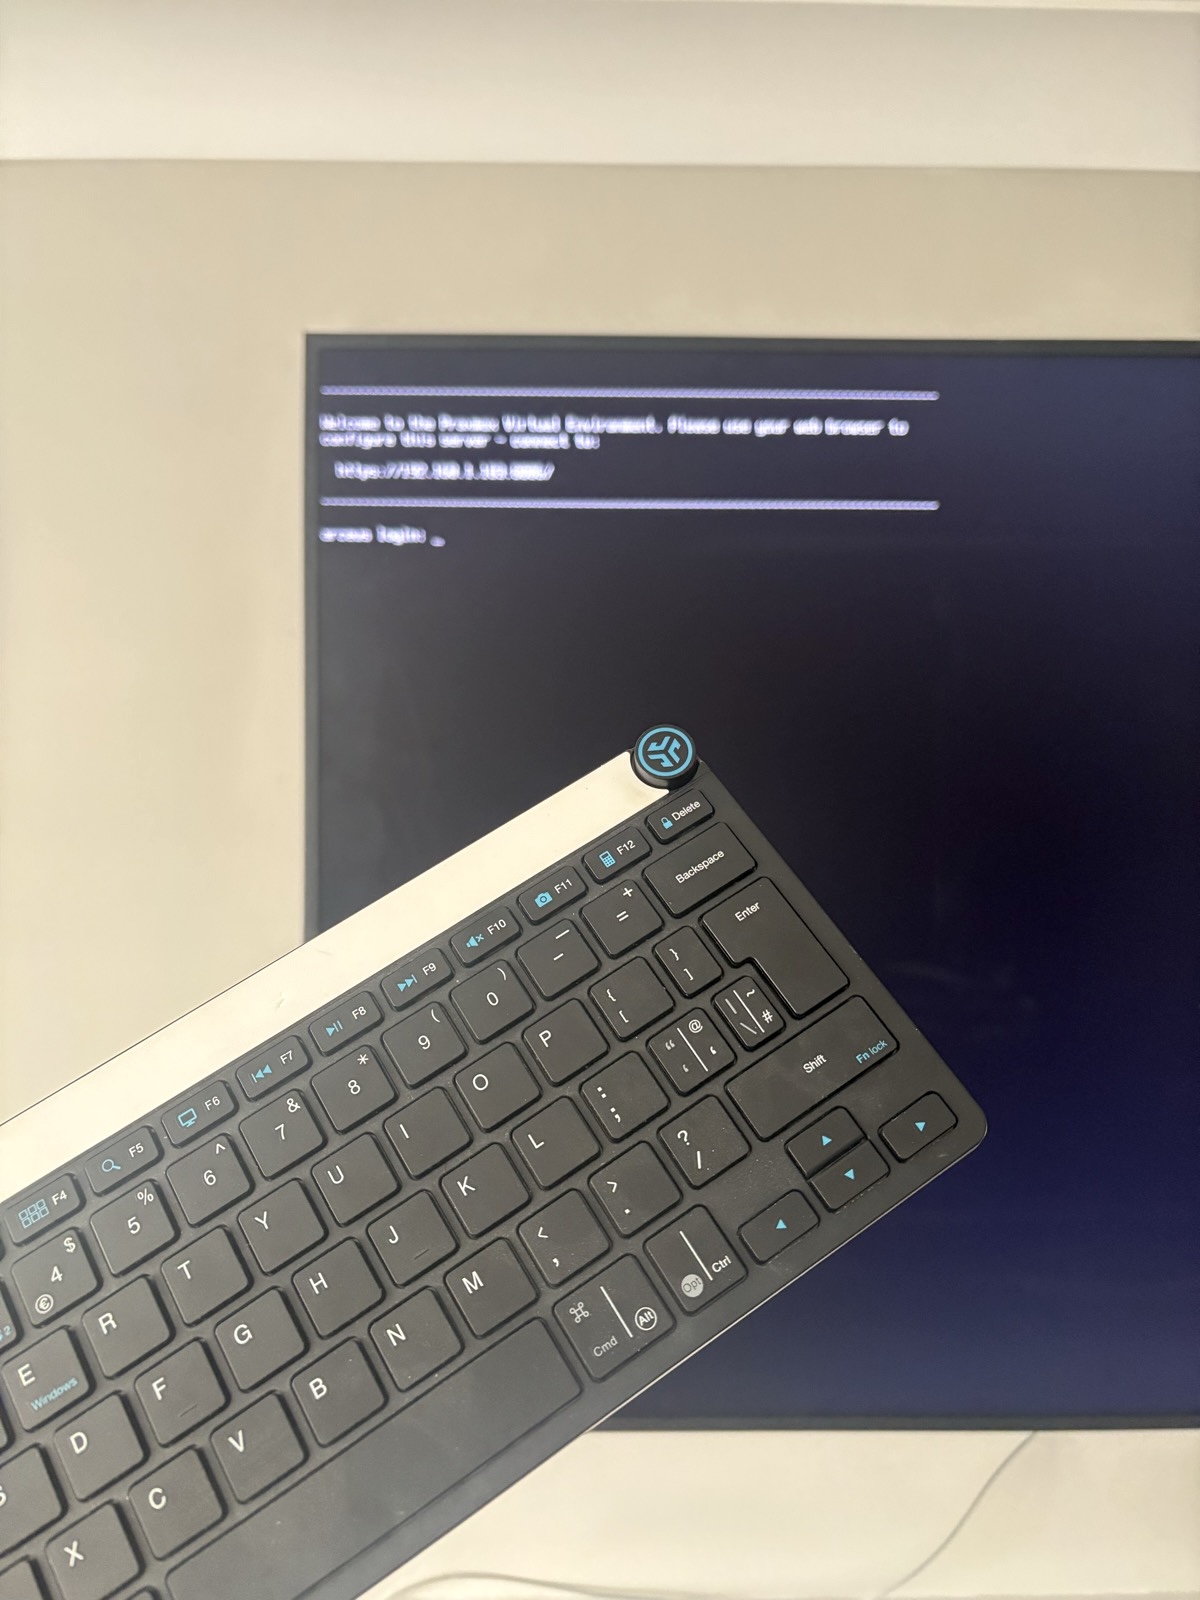
Now with it built, I took it to it’s new home to meet it’s first module. A couple weeks prior to picking up this rack, I had snagged a HP EliteDesk on eBay, installed Proxmox, and started running a few lightweight services.
As infequently as I need to use an actual monitor with this node, I definitely recommend having a small one on standby, as even the very small BIOS change I made to automatically boot the machine when receiving power was awkward enough to do on a TV.