
Filling the GeeekPi RackMate T1
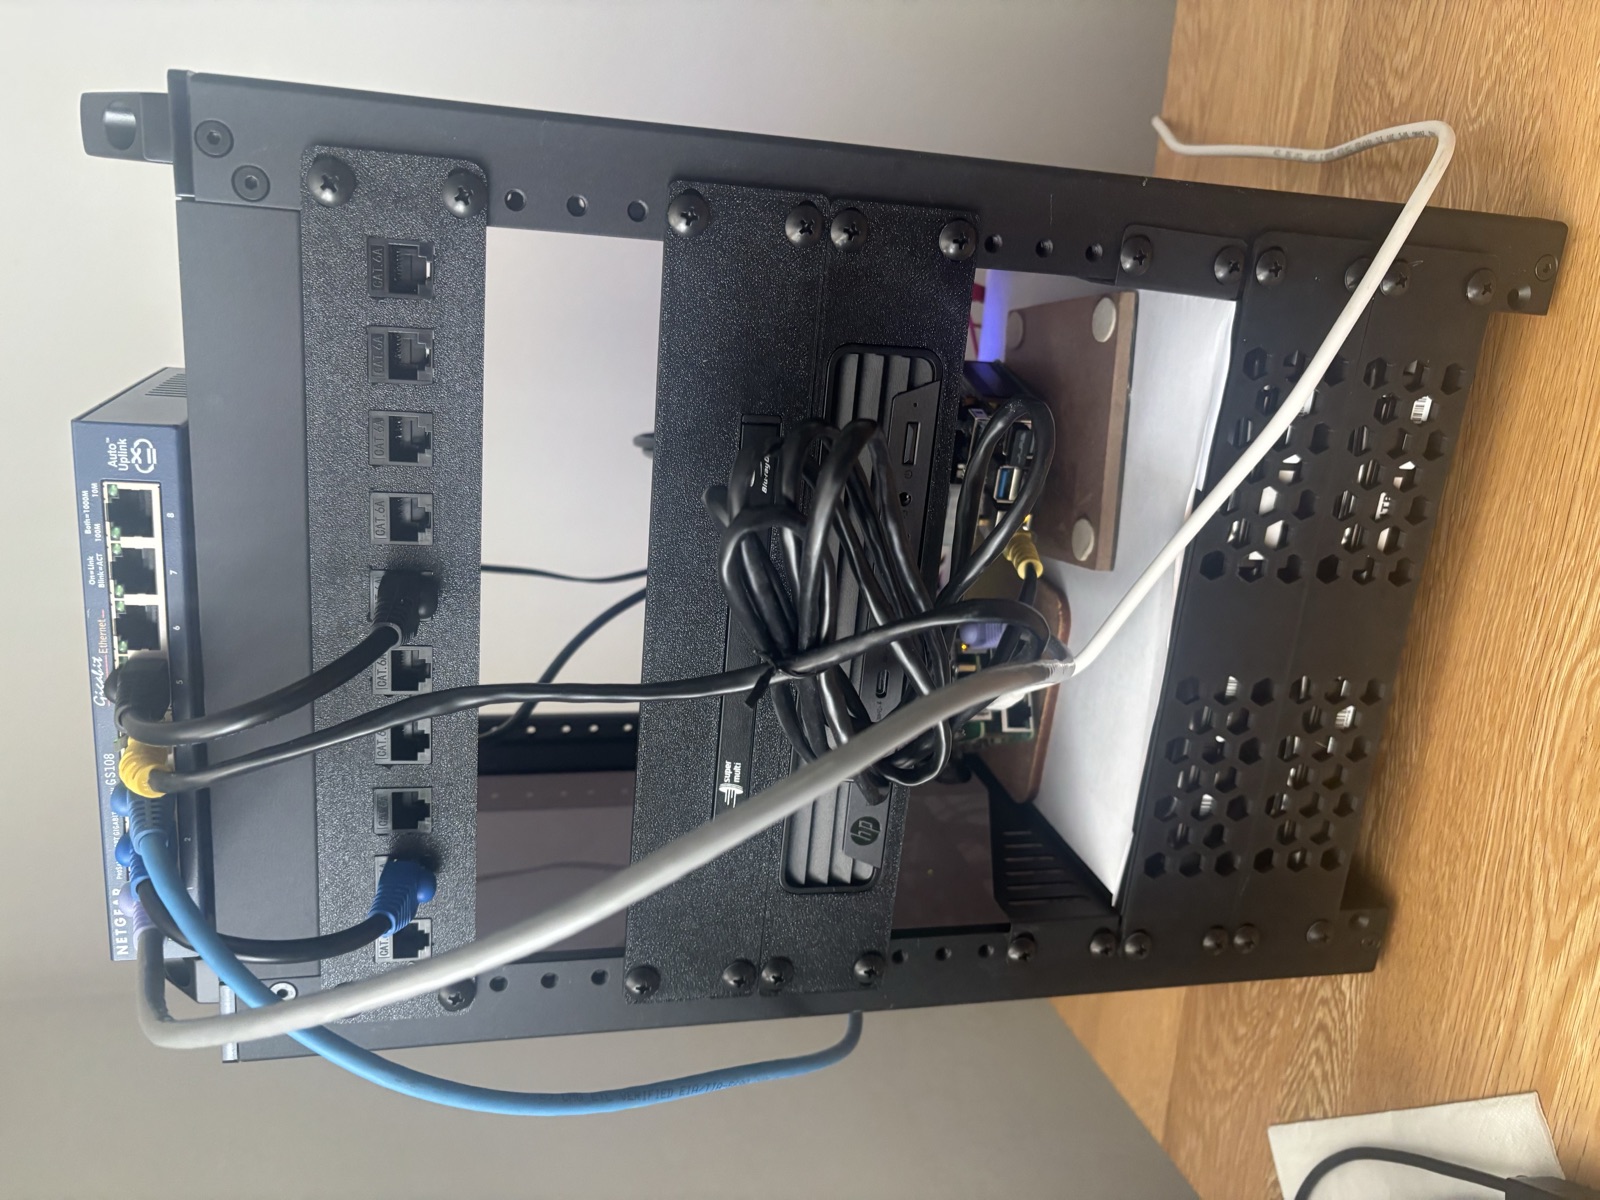
When I built the RackMate T1 back in May, it had one lonely module for a mini PC and seven empty slots, and I knew it wasn’t going to stay that way for long. Every time I looked at it I’d find myself thinking of something else I could put in there, so it was only a matter of time. And now, it looks a lot better, and runs services for my house.
The Raspberry Pis
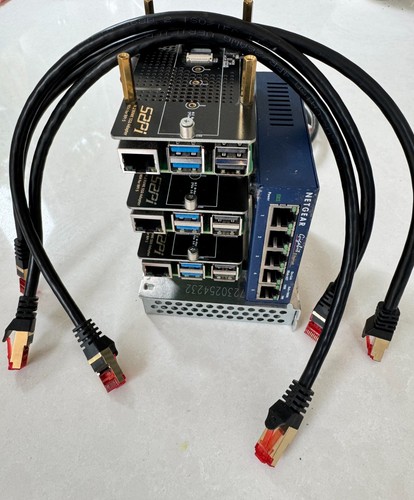
With the rising RAM prices, I wasn’t very confident that I’d be able to pick up any compute for a reasonable price, but I turned to eBay anyway. And behold, I managed to snag one 3 Raspberry Pi 5s for £350, from someone who is trying to offload an old cluster. I picked up an SSD HAT, the Radxa Router HAT and the Radxa SATA HAT, to use each of these as a Monitoring and Backup Orchestrator, Router running PiHole, and NAS Controller respectively.
The Hard Drives
Why do I need storage? Why does anyone? For a media server of course. I wasn’t about to pay full price for brand new HDDs though, so I went hunting on eBay for some second-hand ones. I spent a long time looking, trying to find good deals, with as many guarantees and as much previous testing as possible. I ended up with 4 × 4TB drives for a total of £270, maybe not the best deal, but with the rising prices, I’m not complaining.
Using openmediavault on one of my new Pis to manage my home built NAS, I then spent the next 10 hours running my own SMART tests, getting back a few questionable results, and praying they can hold up in my RAID array until I can next afford to buy a replacement.
The Network Switch
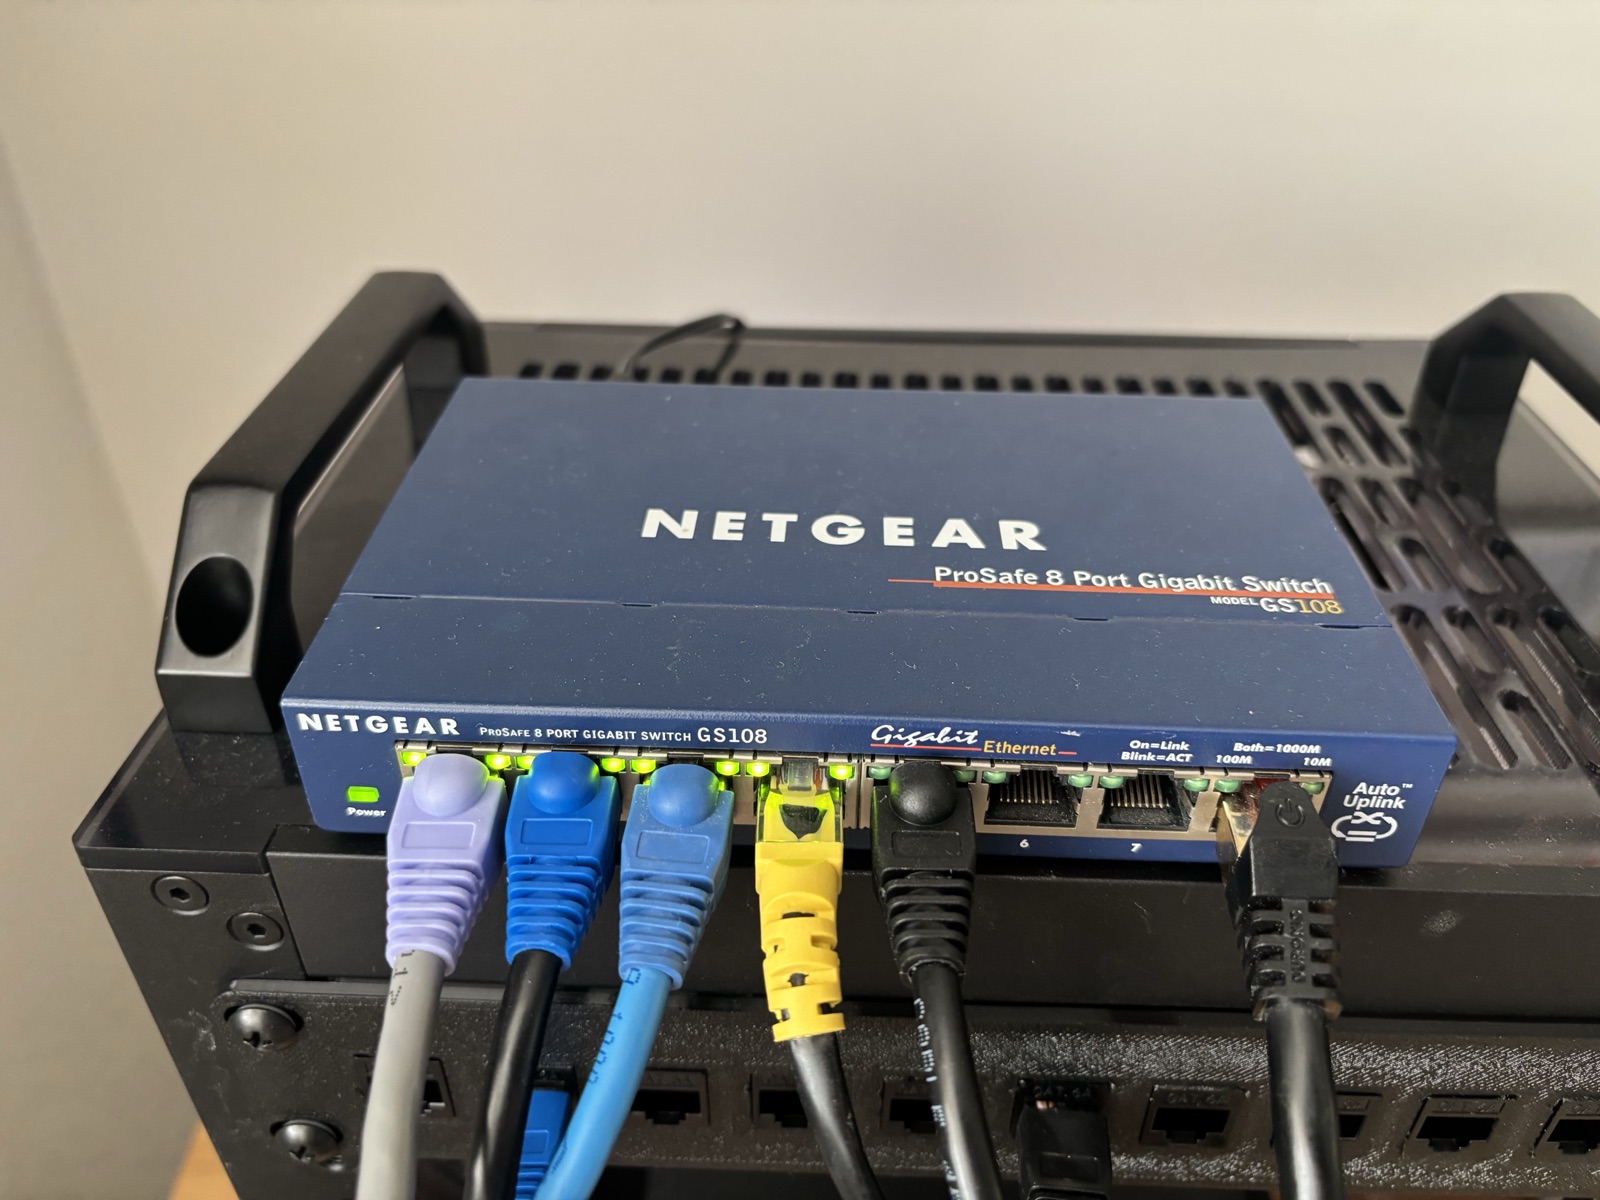
This one is the best type of upgrade, as it didn’t cost me a penny. A friend of mine had one in a box in their shed, an old Netgear one, but it has 8 Gigabit ports, so it does the trick. It’s currently just sat on top of my rack, so I need to get a mount 3D printed for it.
The Access Points
With the switch in (even if it isn’t mounted yet), the Wi-Fi was next. I had a lot of dead spots, and now that the router Pi was handling my network, I could finally run PiHole to block ads across the whole house, so long as everything connected through it. That meant moving off the ISP router’s Wi-Fi, so I ended up buying a set of Cudy mesh access points. They were a good price on sale, picking up 3 for just over £100.
Setup was very easy, and I have one on top of the lab (again), and others where I’d like further wired connections. They also provide great wireless coverage to the whole house.

The Patch Panel and Rack Mounts
To make everything actually sit in the rack, and not just be shoved in it, I needed some mounts. I don’t own a 3D printer (yet), so I went looking for somewhere that would print them for me and found Hark Tech, an independent 3D printing service here in the UK. They sell at just above cost, providing an affordable solution.
I had them print a patch panel along with the other mounts: Pi mounts, drive caddies and a Blu-ray drive mount, for ripping my discs to add to the media server. The designs were all ones I found online. They were high-quality, and fit perfectly in the rack.
Next Steps
It’s not quite finished yet. Right now I’m crimping my own Ethernet cables, cut to length so the rack isn’t swarmed with loose cabling. It’s my first time doing it and it kinda sucks, but I know it’ll be worth the effort. Time to see what I can fill my last 3U with!